Introduction
An Achilles tendon tear is a serious injury that can sideline athletes and active individuals for months. The road to recovery requires a structured rehabilitation plan to restore strength, mobility, and function. Whether you’re recovering from surgery or opting for conservative treatment, following a well-designed Achilles tear rehab protocol is crucial for a full recovery. This guide outlines each stage of rehabilitation, helping you get back on your feet safely and effectively.
Understanding Achilles Tendon Tears
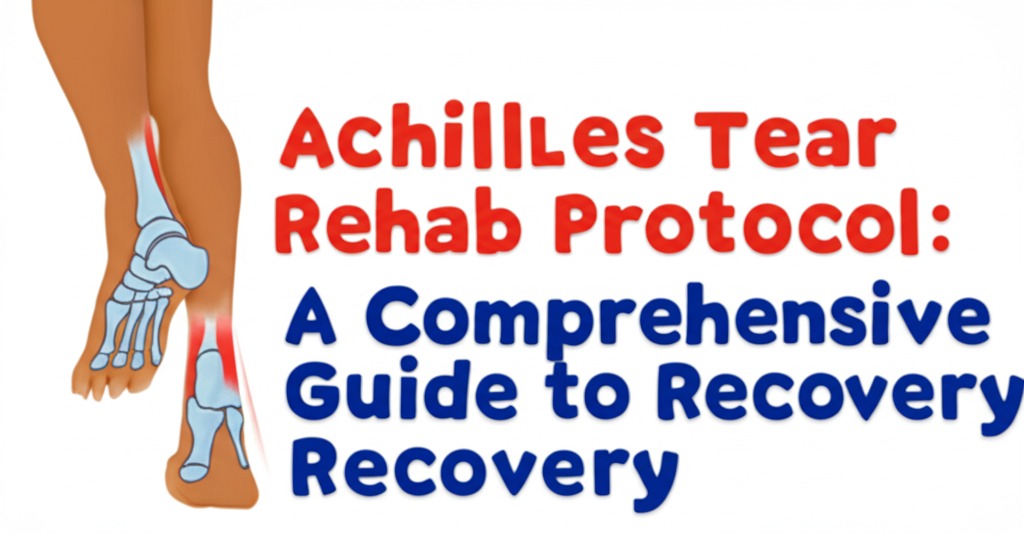
The Achilles tendon is the strongest tendon in the body, connecting the calf muscles to the heel bone. An Achilles tear can occur due to sudden movements, overuse, or weakened tendons from aging. Symptoms include a sharp pain, swelling, and difficulty pushing off the foot. Recovery depends on the severity of the tear and whether surgical intervention is needed.
Achilles Tear Rehab Protocol: Phases of Recovery
Phase 1: Immobilization & Protection (Weeks 0-6)
After an Achilles tendon rupture, the initial phase focuses on protecting the tendon and preventing further injury.
- Use of a cast or walking boot to keep the foot immobilized.
- Non-weight-bearing (NWB) with crutches for the first few weeks.
- Elevation and ice therapy to reduce swelling.
- Gentle range-of-motion (ROM) exercises if permitted by your doctor.
Phase 2: Early Mobilization & Partial Weight-Bearing (Weeks 6-12)
As healing progresses, controlled movement and light weight-bearing are introduced.
- Transition to partial weight-bearing (PWB) in a walking boot.
- Start gentle ankle mobility exercises to prevent stiffness.
- Isometric calf exercises to maintain muscle strength without stressing the tendon.
- Begin physical therapy under professional supervision.
Phase 3: Strengthening & Increased Mobility (Weeks 12-16)
At this stage, the focus shifts to rebuilding strength and flexibility.
- Progress to full weight-bearing without a boot.
- Introduce resistance exercises like banded ankle movements.
- Perform controlled heel raises to strengthen the calf muscles.
- Continue improving ankle range of motion (ROM).
- Incorporate balance exercises to regain stability.
Phase 4: Advanced Strength & Functional Movements (Months 4-6)
With the tendon healing, it’s time to regain functional strength for daily activities and sports.
- Increase resistance training with bodyweight exercises.
- Progressive calf raises (double-leg to single-leg).
- Plyometric exercises like gentle jumps and hops.
- Sports-specific training for athletes preparing to return to play.
- Gradual reintroduction to jogging based on pain levels and strength.
Phase 5: Return to Sport & Full Activity (Months 6-12)
The final phase focuses on full functional recovery and injury prevention.
- High-intensity training and agility drills for athletes.
- Advanced plyometrics and explosive movements.
- Continue flexibility and strength training to prevent reinjury.
- Listen to your body and avoid overexertion.
Key Tips for a Successful Rehab
- Follow your physical therapist’s guidance to avoid setbacks.
- Stay consistent with exercises to ensure steady progress.
- Prioritize proper nutrition for tendon healing (protein, collagen, and vitamin C).
- Gradually increase intensity to prevent re-injury.
- Wear supportive footwear to reduce strain on the Achilles.
Conclusion
Recovering from an Achilles tear requires patience, discipline, and a structured rehab plan. By following this progressive rehab protocol, you can regain strength, mobility, and confidence in your movements. If you’re currently recovering, consult with a healthcare professional to ensure you’re on the right track. Stay consistent, stay positive, and step forward toward a full recovery!
Have questions or need professional guidance? Reach out to a physical therapist today!

Kallie Snyder is an author at Stonegate Health Rehab, providing valuable insights, recovery guidance, and rehab resources to help individuals achieve better health and well-being.
